
It’s important to set up your camera or sound recorder before recording audio. Watch this video to get started with the basics.
Before we start looking at recoding audio it’s a good idea to learn a little about the different audio formats. The two most common formats are WAV and Mp3. I’m sure many of you may be familiar with Mp3 as it’s a very commonly used format. However it is WAV that is a higher quality uncompressed format and in ideal situations, you should always try and record audio in WAV form. There are two numbers associated with WAV files sample rate and bit depth. Sample rate is the number of times the audio is sampled in a second. Generally the higher the better although broadcast standard is 48KHz. Bit depth refers to the number of groups of bits used to store the information and is a measure of resolution, again the higher the number, the better the quality. For most purposes 16 bit will be more than enough quality. So for most audio projects 48KHz 16Bit is perfect.
Levels
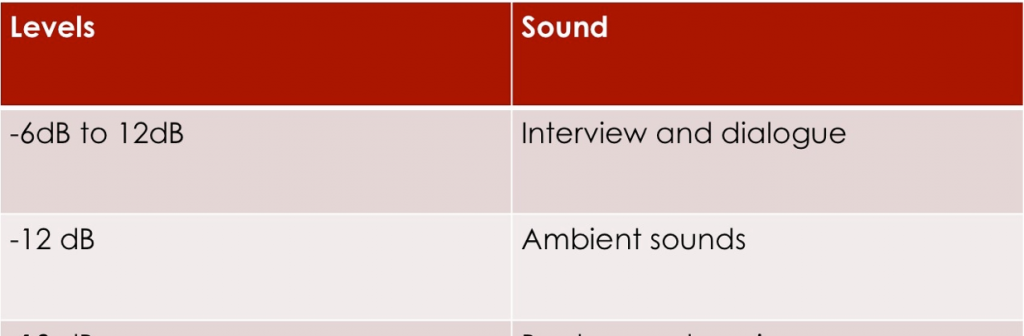
On every recording device there will be a set of levels which move up and down and indicate the amount of sound entering the device. This is one way to monitor the sound being recorded. Ideally you want to keep your levels around – 18dB for recording music, -18 to -12dB for ambient sounds and -6 to -12 dB for interviews and dialogue. You never want your levels to reach 0dB as this means you are clipping your sound and losing information.
If you are recording sound with your DSLR camera then you need to choose between auto and manual levels. Auto levels are fine for recording general ambient audio but for any dialogue or interviews then you must use manual levels. Remember to adjust the levels until you are getting sound recorded at around -6dB. This will ensure you have well recorded audio for your interview.
Continue to the next section: Audio: Microphones